
Installing Neutronium
Using Neutronium template
The best way to start with Neutronium is to download template C# solution from visual studio gallery.
Template application will install nuget dependencies and scaffold a very simple solution including simple View HTML and View Model.
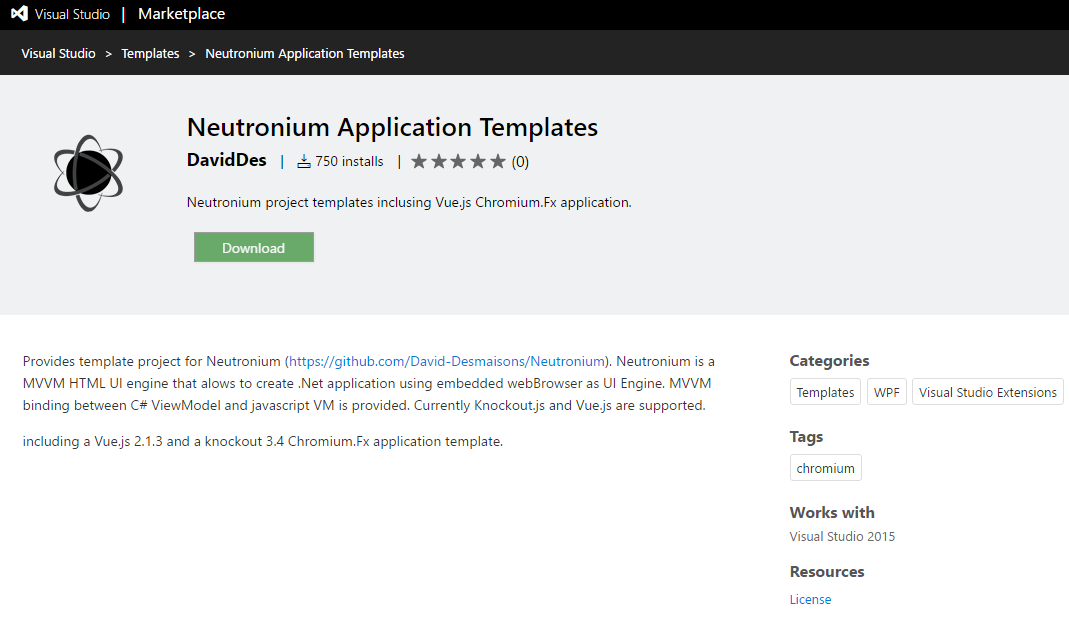
1. Download Neutronium template from visual studio gallery
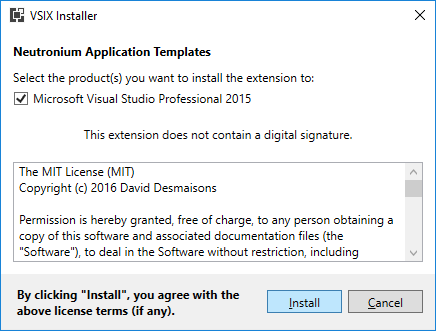
2. Install template
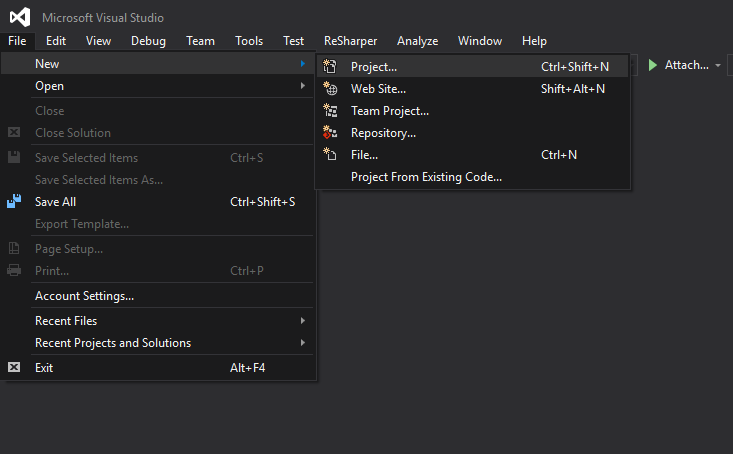
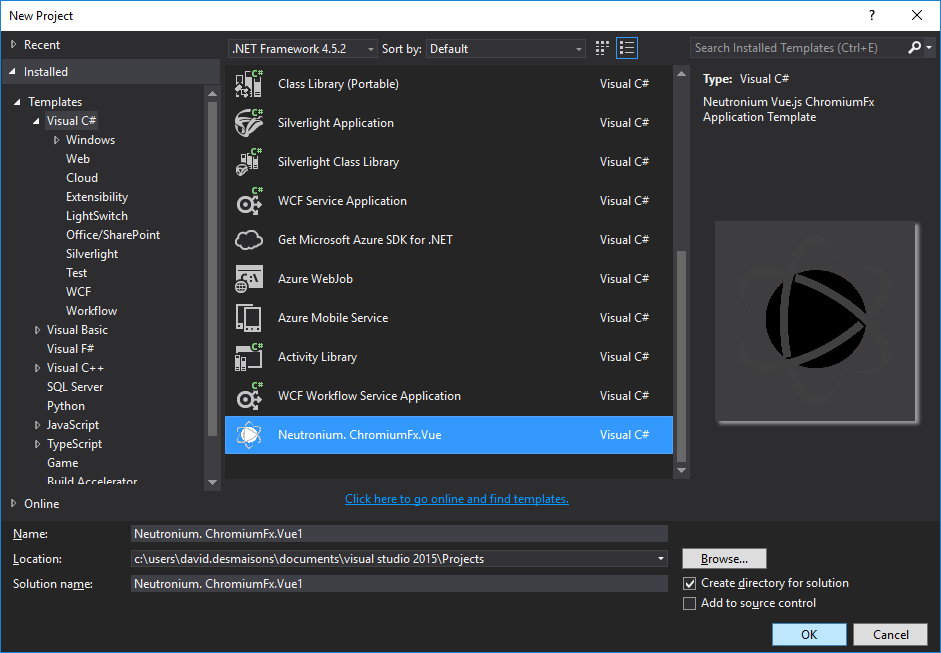
3. In Visual Studio, choose new project, Neutronium Template
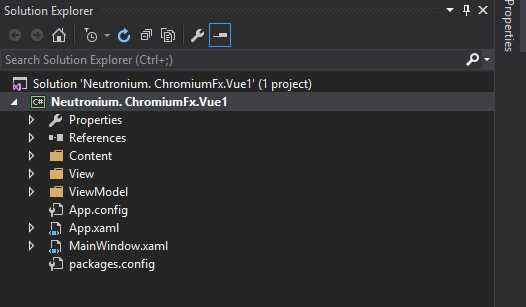
4. Build the project using restore missing nuget option
5. Build vue files using npm
In project folder:
$ cd View
$ cd Main
$ npm install
$ npm run build
Neutronium template uses vue-cli and vue-cli-plugin-neutronium.
See here detailed description how to use it.
From scratch
New project
1. Create a WPF application
Create a normal WPF application, but make sure that the flag "Prefer 32-bit" of the project (Properties>Build) is set to false.
2. Install nuget Neutronium.ChromiumFx.Vue
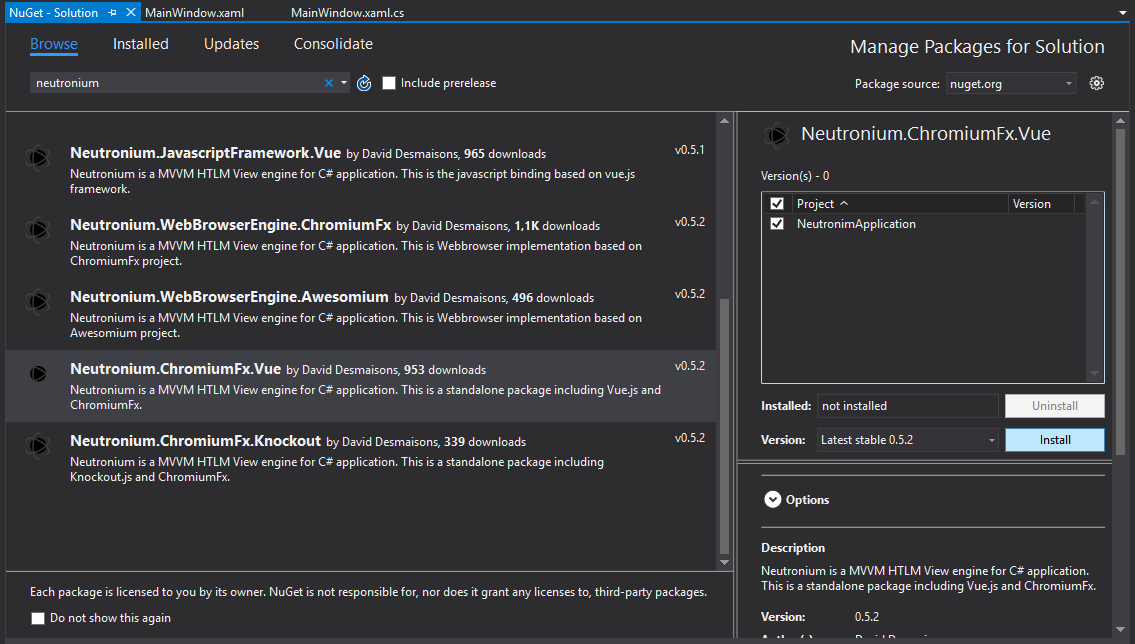
3. Update App.cs and App.xaml to initialize Neutronium engines
App.cs
using Neutronium.Core.JavascriptFramework;
using Neutronium.WebBrowserEngine.ChromiumFx;
using Neutronium.JavascriptFramework.Vue;

namespace NeutroniumApplication
{
    /// <summary>
    /// Interaction logic for App.xaml
    /// </summary>
    public partial class App : ChromiumFxWebBrowserApp
    {
        protected override IJavascriptFrameworkManager GetJavascriptUIFrameworkManager()
        {
            return new VueSessionInjectorV2();
        }
    }
}
App.xaml
<neutroniumCfx:ChromiumFxWebBrowserApp x:Class="NeutronimApplication.App"
             xmlns="http://schemas.microsoft.com/winfx/2006/xaml/presentation"
             xmlns:x="http://schemas.microsoft.com/winfx/2006/xaml"
             xmlns:local="clr-namespace:NeutronimApplication"
             xmlns:neutroniumCfx="clr-namespace:Neutronium.WebBrowserEngine.ChromiumFx;assembly=Neutronium.WebBrowserEngine.ChromiumFx"
             StartupUri="MainWindow.xaml">
    <neutroniumCfx:ChromiumFxWebBrowserApp.Resources>
    </neutroniumCfx:ChromiumFxWebBrowserApp.Resources>
</neutroniumCfx:ChromiumFxWebBrowserApp>
4. Update MainWindow.cs and MainWindow.xaml to use Neutronium UserControl
MainWindow.cs
public partial class MainWindow : Window
{
	public MainWindow()
	{
		InitializeComponent();

		// Initialize application and set-up a none-null dataContext here
		// If the data context is null nothing will be displayed
		DataContext = ..
	}

	protected override void OnClosed(EventArgs e)
	{
		this.HtmlView.Dispose();
	}
}
MainWindow.xaml
<Window x:Class="NeutronimApplication.MainWindow"
        xmlns:neutronium="clr-namespace:Neutronium.WPF;assembly=Neutronium.WPF"
        xmlns="http://schemas.microsoft.com/winfx/2006/xaml/presentation"
        xmlns:x="http://schemas.microsoft.com/winfx/2006/xaml"
        xmlns:d="http://schemas.microsoft.com/expression/blend/2008"
        xmlns:mc="http://schemas.openxmlformats.org/markup-compatibility/2006"
        xmlns:local="clr-namespace:NeutronimApplication"
        mc:Ignorable="d"
        Title="MainWindow" Height="350" Width="525">
    <Grid>
        <neutronium:HTMLViewControl x:Name="HtmlView" IsDebug="True" Uri="pack://application:,,,//View/MainView/dist/index.html" HorizontalAlignment="Stretch" VerticalAlignment="Stretch"/>
    </Grid>
</Window>
5. Install HTML/Vue template
It is strongly recommended to use vue cli neutronium to bootstrap the project and develop Neutronium application described here.
In this example you should install template under View folder creating a MainView view.
For an existing WPF project
Follow steps 2 to 5 from new project set-up.
If it is not possible to change App inheritance, Neutronium should be initialized once like this:
using Neutronium.Core.JavascriptFramework;
using Neutronium.WebBrowserEngine.ChromiumFx;
using Neutronium.JavascriptFramework.Vue;

\\....
var engine = HTMLEngineFactory.Engine;
engine.RegisterHTMLEngine(new ChromiumFXWPFWebWindowFactory());
engine.RegisterJavaScriptFramework(new VueSessionInjectorV2());
In this case, you should call on application shutdown:
HTMLEngineFactory.Engine.Dispose();